Single user (stand-alone) Installation
This article concerns the installation of a single-user (stand-alone) PC workstation for off-line data collection and export to the server.
Step-by-step guide
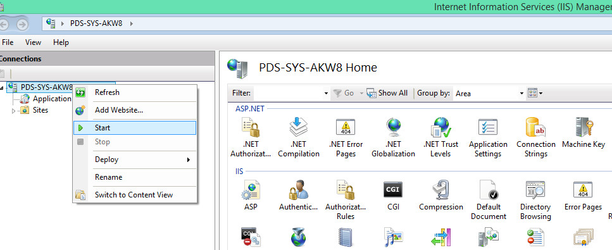
- Turn on the Internet Information Services.
- After downloading the install file, you will place it on your server and execute it.
- On some operating systems, files downloaded from the Internet are blocked by default, and you will experience this blocking message:
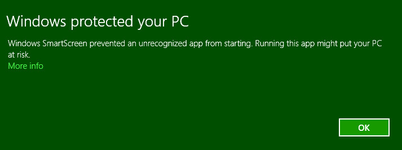
- If you get this message (or similar on other operating systems), please right-click the install file and select Properties:
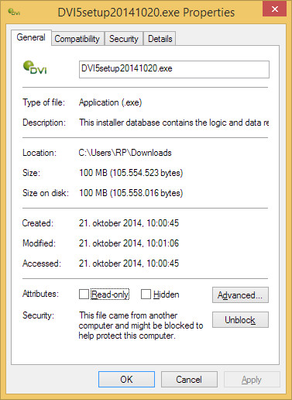
- The option to unblock the file for execution is at the bottom of the window, click Unblock:

Now, your file is ready to be executed again.
- If you get this message (or similar on other operating systems), please right-click the install file and select Properties:
- The DVI System has certain requirements for your operating environment, and as a service, we will try to fulfill these through some simplified prerequisite installers.
These are not part of our official deliverables, as they are provided as-is from Microsoft. We have seen lots of examples where the prerequisites installation is failing, and if that is also the case for you, we recommend that you download the pre-required components directly from Microsoft in order to use their full user-interface for installation and determine the cause of the problems with your machine.
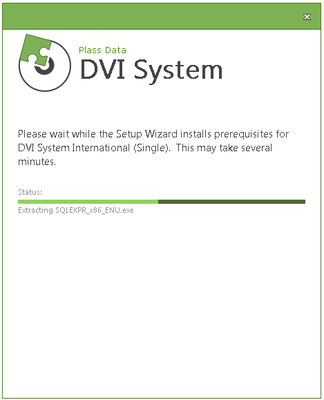
If .Net 4.5 and/or an instance of Microsoft SQL Express version 2012 or 2014 is not previously installed, the installation of .Net 4.5 and/or Microsoft SQL Express 2014 will commence. Click Next: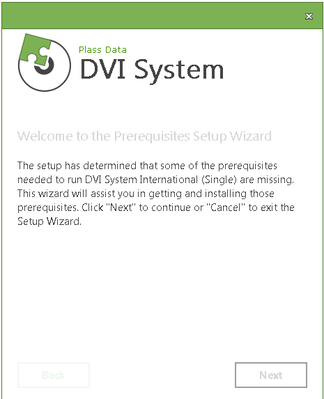
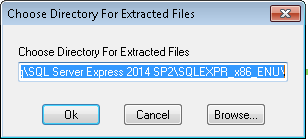
Click Next: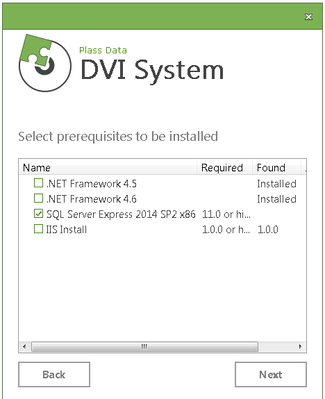
- Click Ok
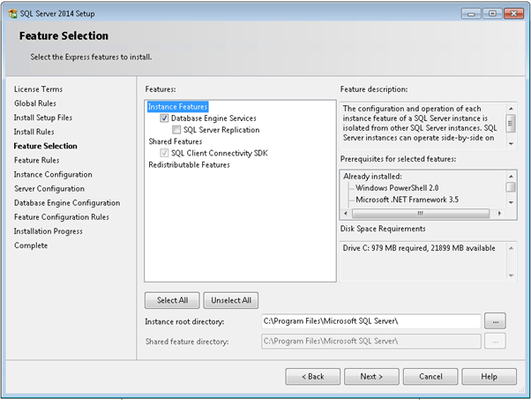
- Check the box ”I accept the license terms” and click Next >
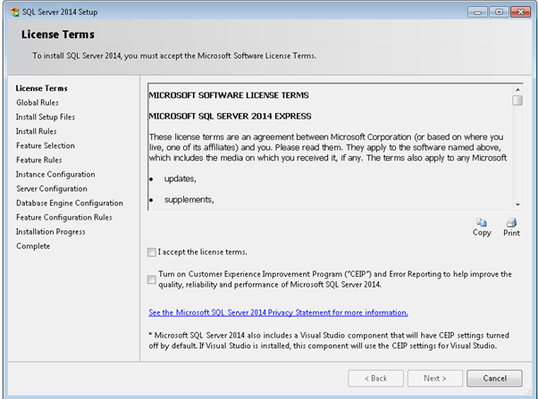
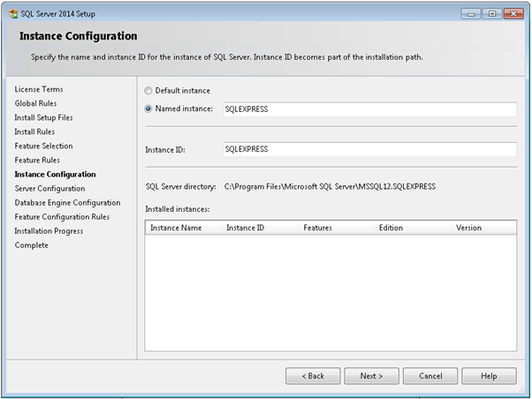
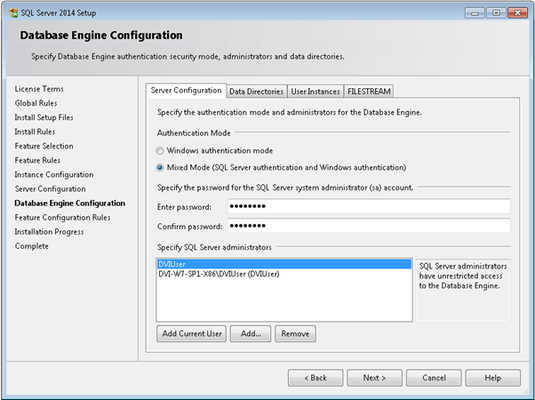
- In the following four dialogs click Next >

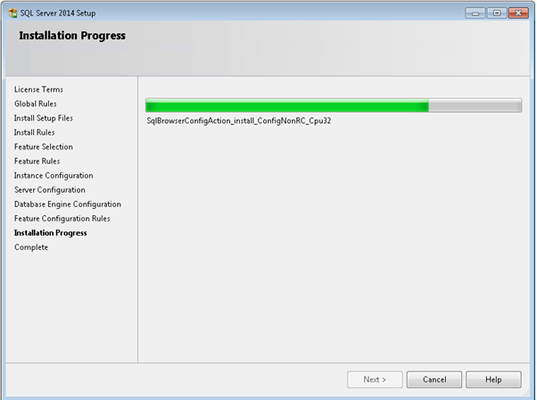
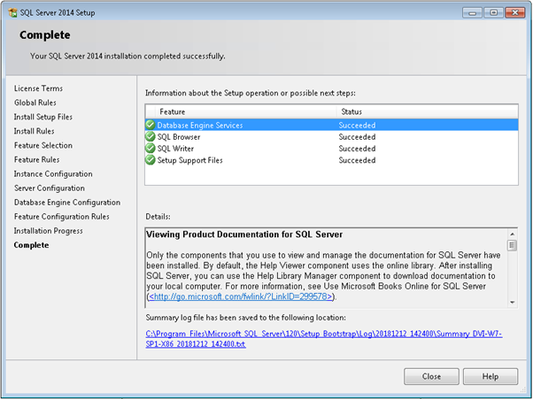
- The installation will take about 10 minutes.
 *
* - Click Close
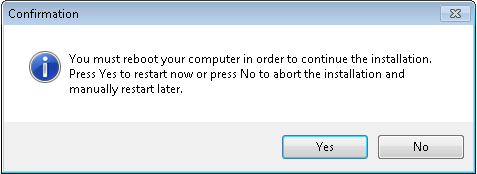
- Click Yes and the installation will continue after restart.
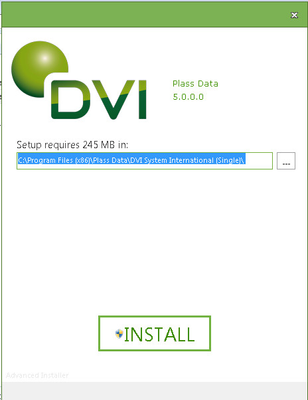
- The next installation dialog is about the installation path. Typically just accept the default and click INSTALL:
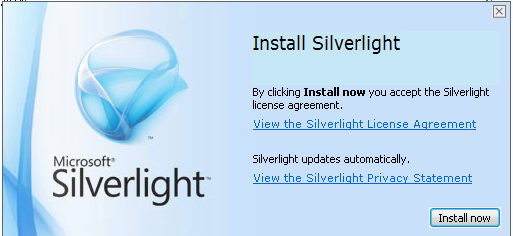
- If Microsoft Silverlight is not installed, Microsoft Silverlight will be installed. Click Install now:
Click Next >: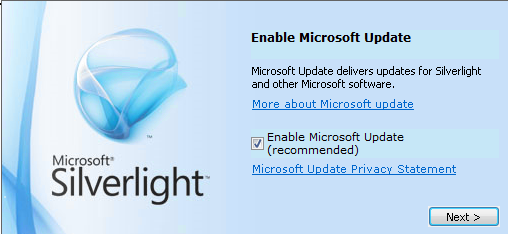
Click Close: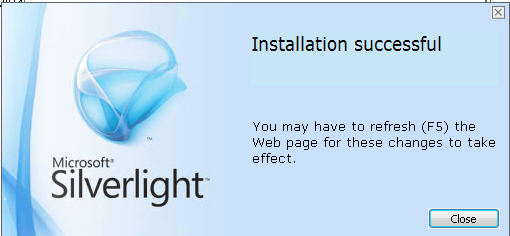
Installation of new licence:
During installation/upgrade you will encounter the following dialog:
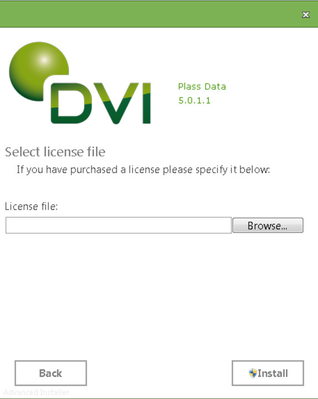
If you already have a valid licence, just click "Install".
Click "Browse" and point at the licence file. Click "Install". The file will be copied to the right location during installation.
If an old licence file with a different name exist, it must be removed manually from the license subfolder.
- If you are upgrading from an earlier version, you can choose to start with a fresh database, or to upgrade your existing data.
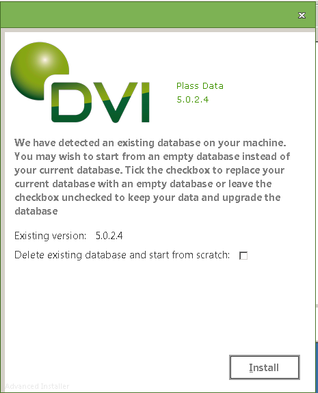
Finally, the server code and database is installed and the Finish dialog is displayed:
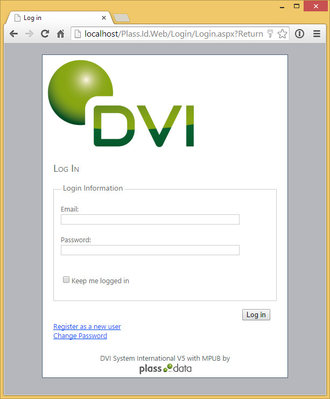
Test the connectivity and perform initial configuration according to this next article.
Related articles