Server Installation
This article concerns the installation of the server package on a machine prepared as a server, where Internet Information Services and Microsoft SQL Server is already installed.
Step-by-step guide
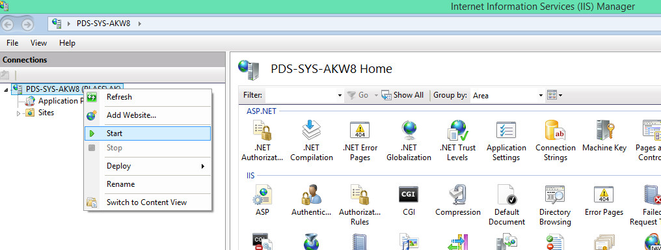
- Turn on the Internet Information Services.
- After downloading the install file, you will place it on your server and execute it.
- On some operating systems, files downloaded from the Internet are blocked by default, and you will experience this blocking message:
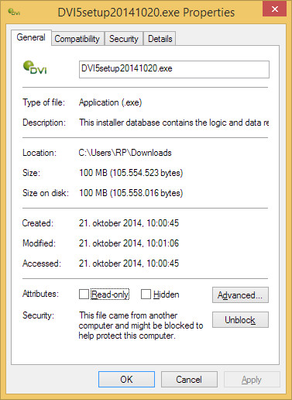
- If you get this message (or similar on other operating systems), please right-click the install file and select Properties:
- The option to unblock the file for execution is at the bottom of the window, click Unblock:
Now, your file is ready to be executed again.
- If you get this message (or similar on other operating systems), please right-click the install file and select Properties:
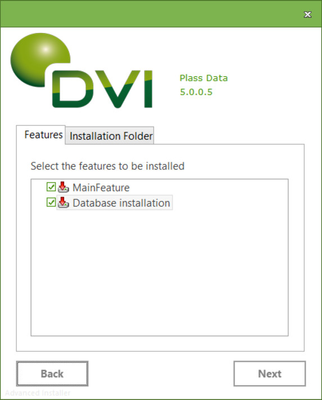
- The first installation dialog is about features and the installation path.
For now the features can not be altered.
Unless you wish to change the installation path, just accept the default and click NEXT.: Installation of new licence:
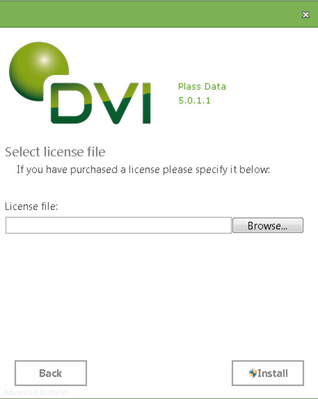
During installation/upgrade you will encounter the following dialog:
If you already have a valid licence, just click "Install".Click "Browse" and point at the licence file. Click "Install". The file will be copied to the right location during installation.
If an old licence file with a different name exist, it must be removed manually from the license subfolder.
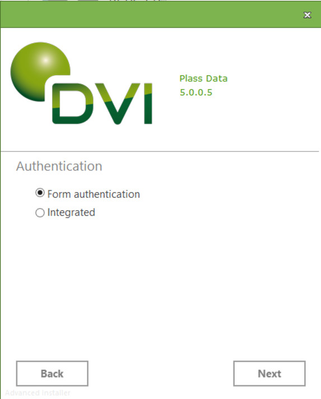
- Next dialog has the authorization information.
You can choose between Form authentication and Integrated (AD) authentication.
Forms authenticationUse forms authentication when end users need to access the DVI system from remote locations e.g. access via the internet.
Forms Authentication provides access to the system through an username and password issued by an administrator account.
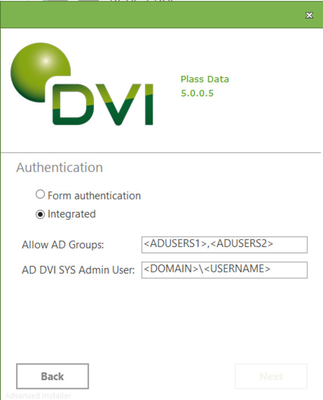
Integrated authenticationUse integrated authentication when your webserver is present on the Active Directory (AD) where the users using the DVI system reside. This setup provides SSO (single sign on), and is typically used in an intranet network.
Setup of Integrated Authentication requires knowledge of AD users and groups on an administrative level.
if you chose Forms authentication , click NEXT and go to step 6.
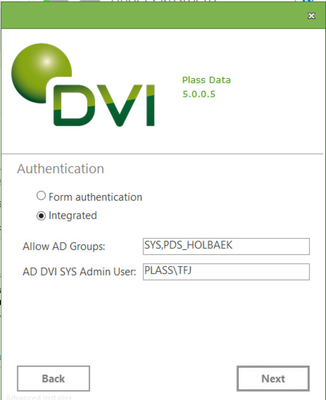
Enter the names of the AD groups which are granted general access to the DVI system. Multiple groups must be separated by a comma, and you must not include the domain name of the group as we allow access to the equivalent group names across all domains, so that it is easy to configure access to users in both a test and a production domain as long as the group name part is the same. You should have prepared at least two groups, i.e. DVI_Users and DVI_Admin, so that you can later divide your daily users in normal users and users with Administrator access.
The AD DVI SYS Admin User is the special AD user which initially has access to the system. Only this DVI System Administrator has access to the system when the installation is completed. Please be aware that the DVI System Administrator does not have normal user or Administrator rights and you should not use an account that is later linked to the Administrator role for normal users.
It is important that the user name is given inDOMAIN_NAME\usernameformat, not org.dom\username or username@org.dom.
The first task of the DVI System Administrator is to map the AD groups to DVI roles and map AD users to DVI users. See Initial agency and user setup for further infomation. Next dialog has the main installation information.
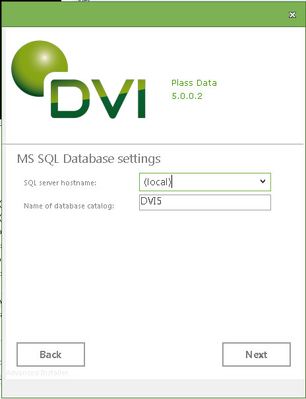
The first two fields are about the SQL Server.
SQL server hostname:
If you are installing directly on the server, then (local) is OK.
If you are using an SQL Express server, you would typically change it to '.\SQLEXPRESS'.
Name of database catalog:
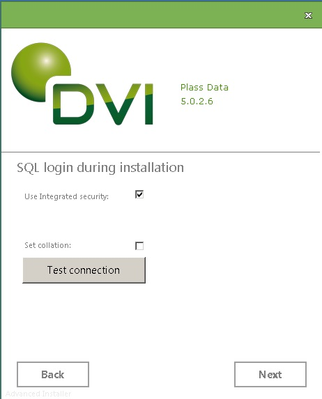
The actual name of the database. DVI5 is the preferred default.Next dialog has the database connection and collation information.
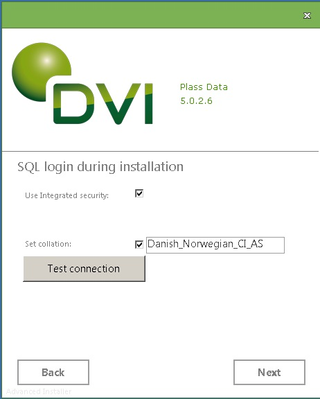
Collation
Default collation on the database is the default for the database server.
If you wish to change the collation, choose Set collation and enter the collation of your choice.
Upgrading existing installation
If you are upgrading an installation with an existing database then you must use the same SQL login during installation as was used during the initial database installation.
Access for updating the database structure is created for the installing SQL user (or Windows user if using Integrated Security) during first-time install, and database users using a different authentication method or name - despite having wide access rights - has proven not always to be able to initiate structural changes of the database.
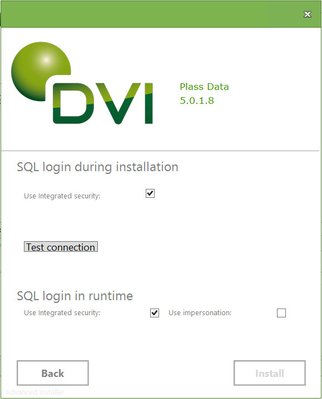
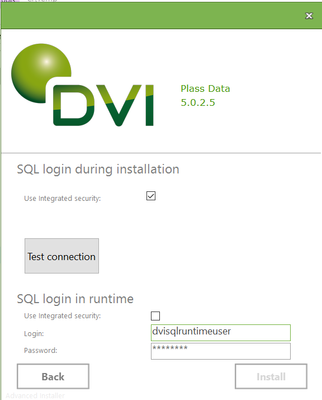
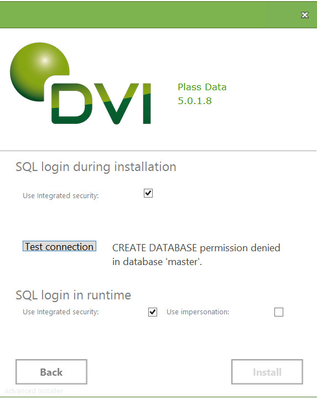
SQL login during installation -> Use Integrated security:Check if you wish to install the database with the current Windows credentials.
Uncheck and provide Login and Password for a existing SQL user (not a domain user) if you wish to Install the database with a SQL user.
Note that this user must have the "dbcreator" role on the SQL Server.SQL login in runtime -> Use Integrated security:
Check if you wish the runtime user to be authenticated with the Windows credentials of the Application Pool Identity that you specify on the next page..SQL login in runtime -> Use impersonation:
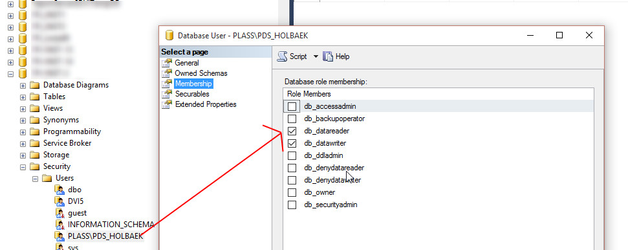
(Available from version 5.0.1.0) Will allow the SQL server to monitor all queries performed by Active Directory user accounts on the DVI5 database. This option is only available when Use Integrated security is checked.
When using the impersonate feature the credentials of the end user is passed on to the database. This implies that the end user is granted access to the database either through specific credentials or a group membership. db_datareader and db_datawriter roles are requied.
Important!
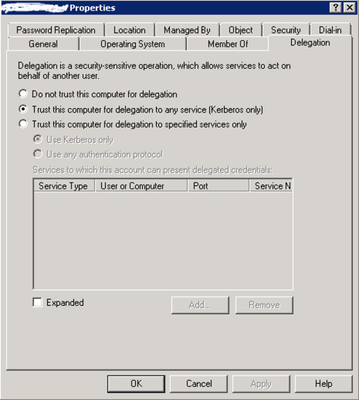
When installing with the impersonation feature enabled, it's important to ensure that the server (or worksation) hosting the DVI5 site allows delegation in the Active Directory where it reside.
Select the "Trust this computer for delegation to any service (Kerberos only)" option. The option for specific services can also be used to add delation for the SqlServer service only. These operations should be performed by the Active Directory administrator.The delegation properties is managed through the “Active Directory Users and Computer” tool on the domain server, which i started by running: %SystemRoot%\system32\dsa.msc
Once the delegation trust setting is activated. The webserver must be rebooted to apply the setting from the domain server. Alternatively the command "gpupdate /force" can be run on the webserver to update the setting.
NOTE - Using windows authentication.In some rare scenarios uses might get a HTTP error 400 when using Internet Explorer. This can occur if the AD user is member of a large number Active Directory groups as described in this article:
"HTTP 400 - Bad Request (Request Header too long)" error in Internet Information Services (IIS)
The issue can be resolved by configuring two registry parameters on the IIS server:[HKEY_LOCAL_MACHINE\SYSTEM\CurrentControlSet\Services\HTTP\Parameters]
"MaxFieldLength"=dword:0000fffe
"MaxRequestBytes"=dword:01000000
The registry script can be downloaded from the link above.
Uncheck Use Integrated security
and provide Login and Password for a SQL user (not a domain user) if you wish the runtime user to be a SQL user.
If the provided SQL user does not exist on the Server, the user will be automatically created by the installation.
To make sure the choosen user has rights to create the database, click the "Test connection" button to be able to move on.
If the test is not successfull:
You must give the user the "dbcreator" role on the SQL Server and test the connection again.
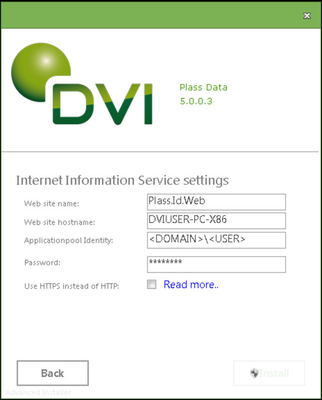
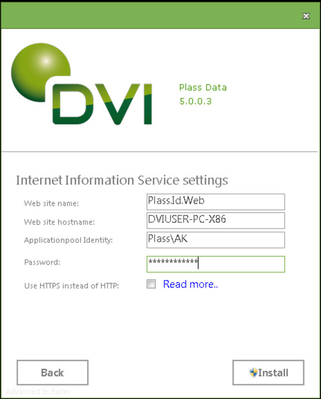
The next dialog are about the Internet Information Service settings.
Web site name:
The name of the website that is being installed. Plass.Id.Web is the preferred default.This installer supports installation of several sites. See /wiki/spaces/DVISUP/pages/53674038 for further information.
Web site Hostname:
This is the hostname of the webserver as recognized by your DNS. It may be left empty if the DVI System is the only web-site on this server, but is otherwise used to distinguish between different sites (with multiple hostnames on the same IP address) bound to the port 80 or 443 is SSL/TLS is used. In some police Networks, web servers are adressed through proxy servers that replaces the hostname in the original URL with the IP address, and the hostname MUST be left empty in these cases, so that the site is bound to the IP alone.
Applicationpool identity and password:
We create a new Application Pool, CustomDVIPool, that is used to execute the server code and optionally connect to the SQL Server if integrated runtime authentication is specified in the previous page.
This pool authenticates itself to the SQL Server using the identity of the pool, not the logged in user, as a server don't need an active user.
By default, you must enter the user account that you want to be used as the executing account. We recommend creating a user for this purpose, preferably with some relaxed password policy, as you will need to change the password in the CustomDVIPool whenever this account is changing (or forced to change) its password.
After installation, you may manually change the application pool identity user in step 5 to 9 of this article. You may also change the Database Server Connection
Use HTTPS:
The site is configured for HTTPS if you tick this box, but it is your own responsibility to obtain, install, configure and maintain the necessary certificate infrastructure behind it.
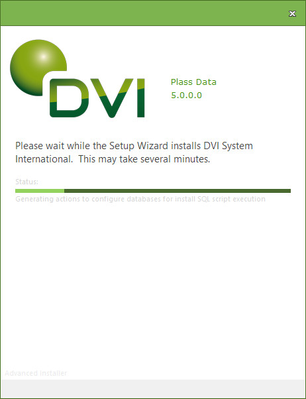
This step is quite long-running, so don't get impatient and break the install...
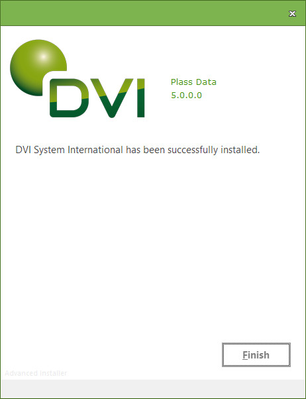
Finally, the server code and database is installed
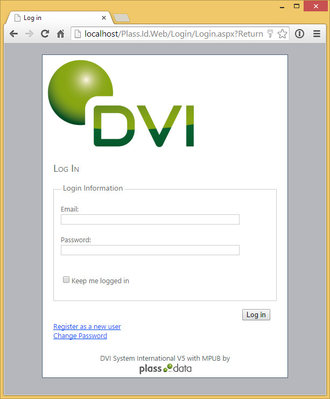
Test the connectivity and perform initial configuration according to this next article.
Related articles
